Railway
Introduction
Here’s how to easily deploy this app:
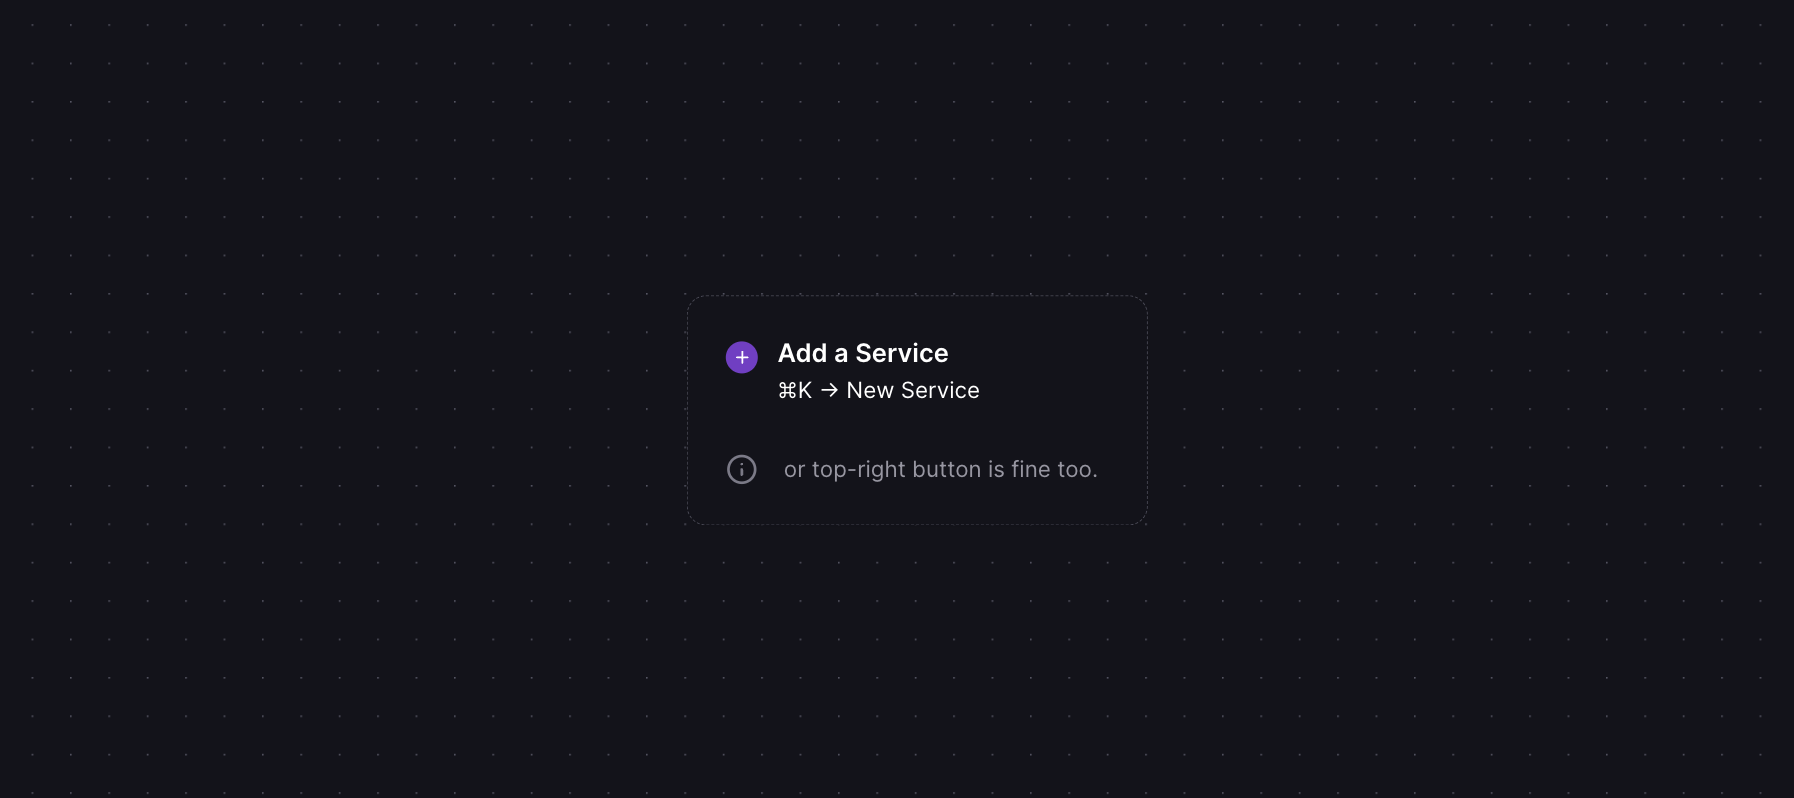
- Sign up at Railway.
- Click 'New Project' and select 'Node.js'.
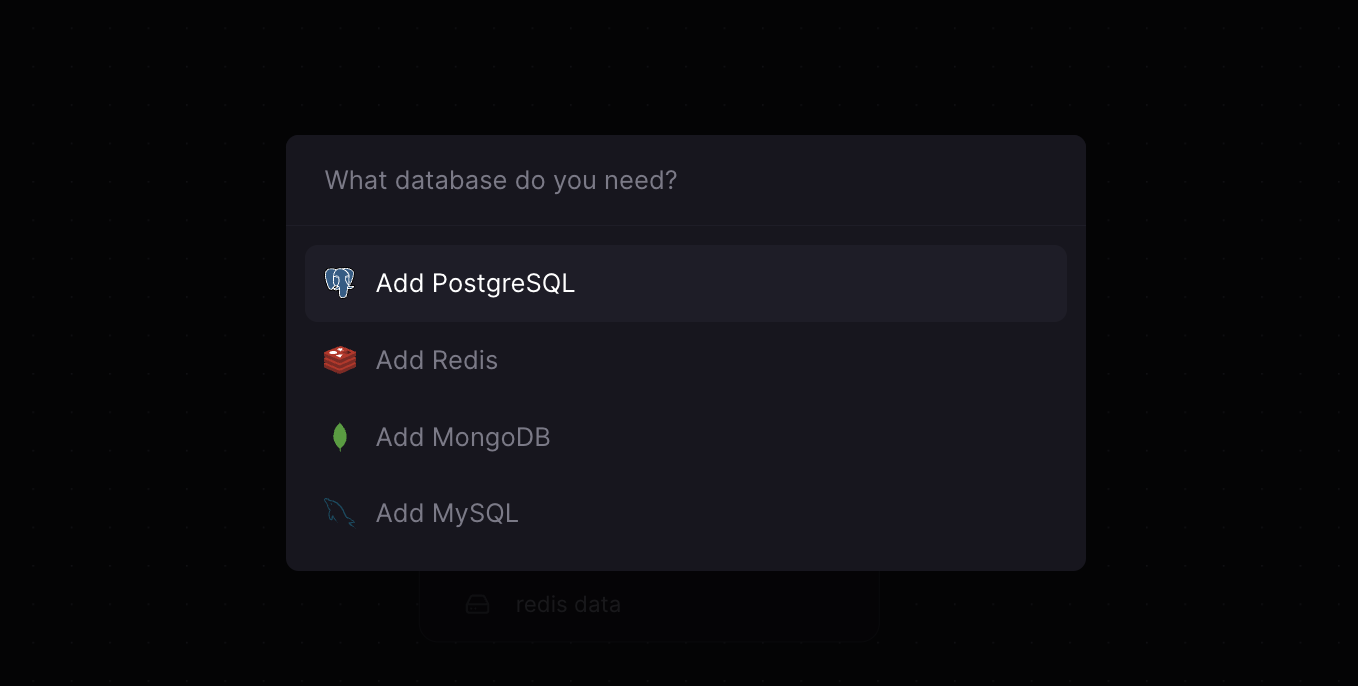
- Create a Redis DB or other (Optional)
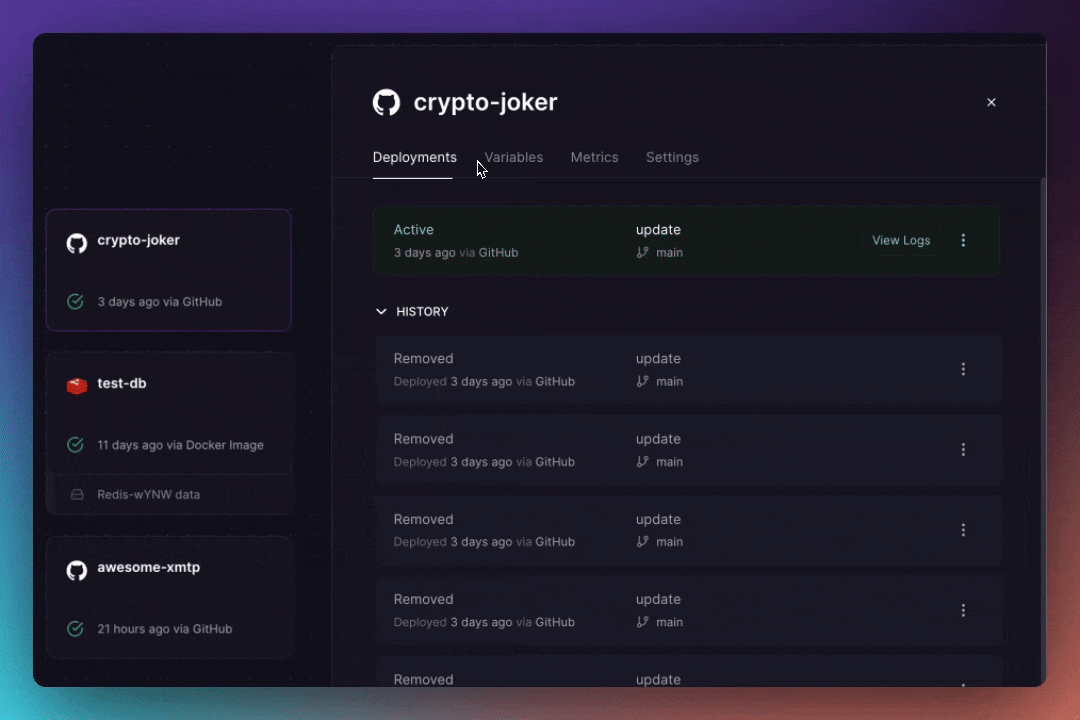
- Connect your GitHub repository
- Set your environment variables
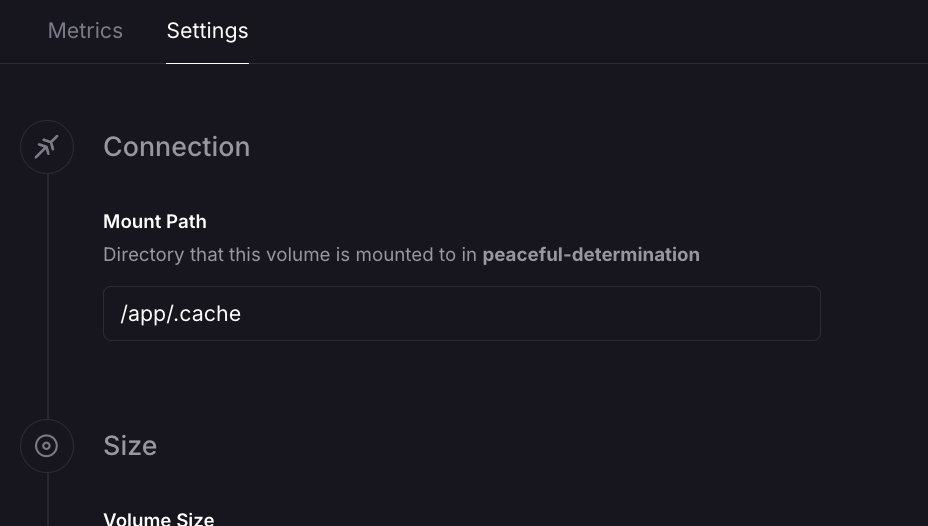
- Add a volume to your container
- Deploy your application.
- Register an ENS domain and share your app!
Deployment
- Sign Up and Setup: Create an account at Railway and start a new empty project.
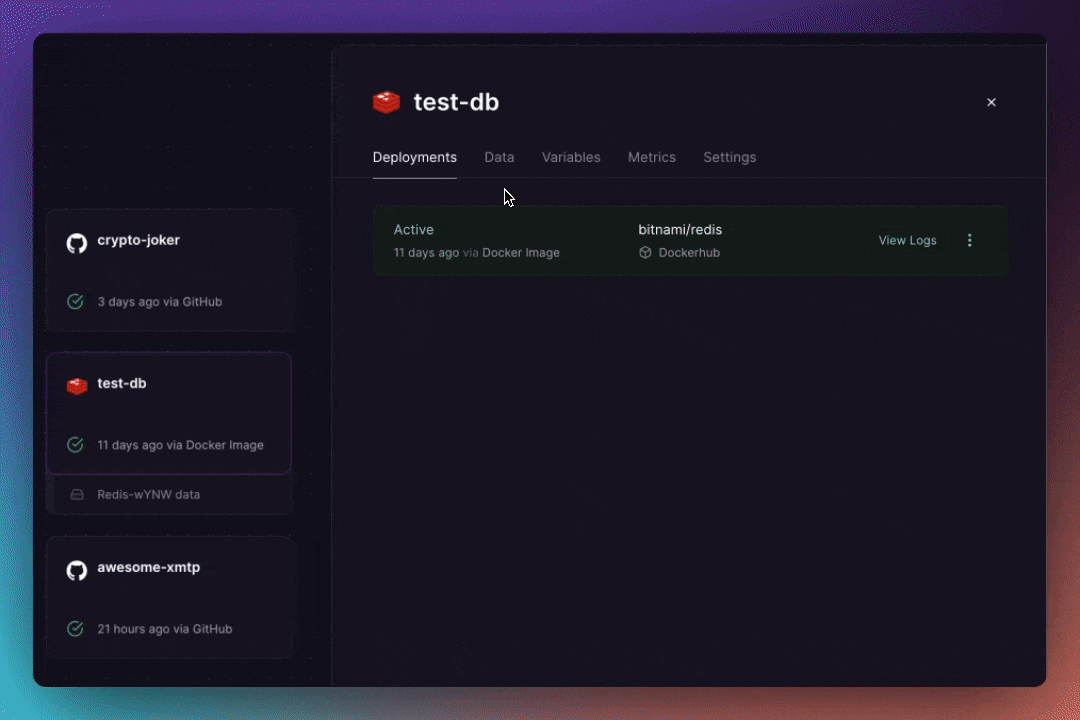
- Database (Optional): Optionally, right click to add a Redis database to your project.
- Get the redis connection string
Add the variable to the env editor in Railway.
.env
KEY= # 0x... the private key of the bot wallet (with the 0x prefix)
REDIS_CONNECTION_STRING= # the connection string for the Redis database- Repository: Connect your GitHub repository where your app code resides and deploy the repo.

- Environment Variables: Set up environment variables in Railway.
- Cache:
- Preserves conversation history between deployments
- Prevents creation of new installations on each restart
- Ensures faster group additions by retaining past installations
- Avoids the 256-installation limit, preventing bot failure
- Reduces the risk of missing messages during redeployment
To implement:
- Use Railway's feature to attach a persistent volume to your container
- Set the database path to a location on this volume
- Ensure the
.cachefolder is stored on the persistent volume
This approach creates a continuous installation, preventing message loss and maintaining bot functionality across redeployments.